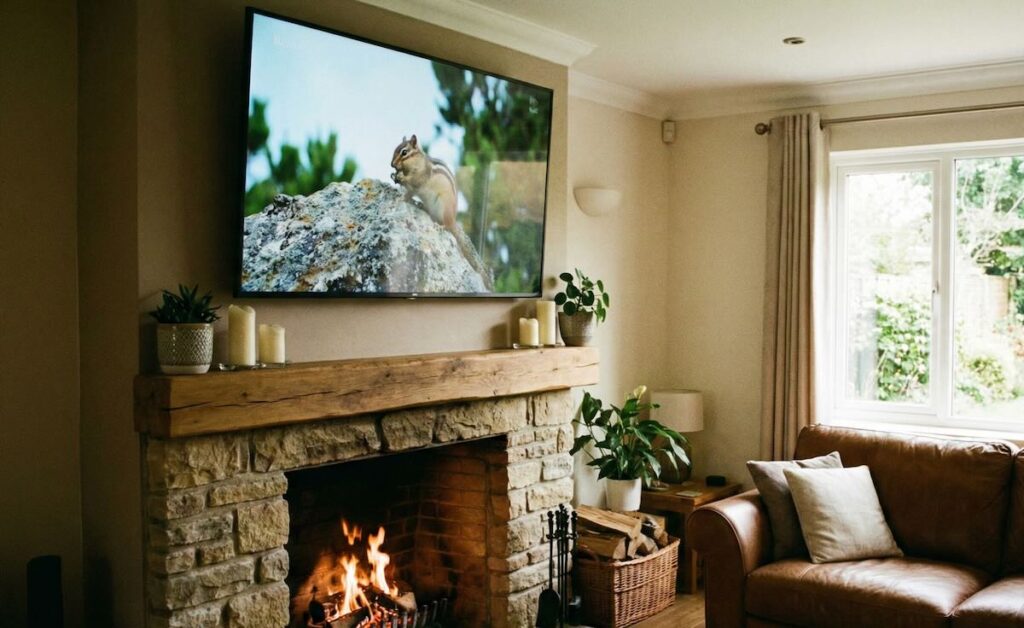
When mounting a TV on the wall, one of the most noticeable challenges is dealing with the cables. Exposed wires can create an untidy and cluttered look, which is not ideal for a sleek, modern living room. Hiding wires not only enhances the aesthetic appeal of your space but also keeps the area organized and safe, preventing tripping hazards. Whether you’re going for a minimalist look or just want to keep things neat, hiding the wires can make your setup look professional and polished. In this guide, we’ll walk you through different ways to hide your TV wires, from the simplest method to the more advanced techniques.
Stage 1: Using a Cable Raceway (with Double-Sided Tape)
What is a Cable Raceway?
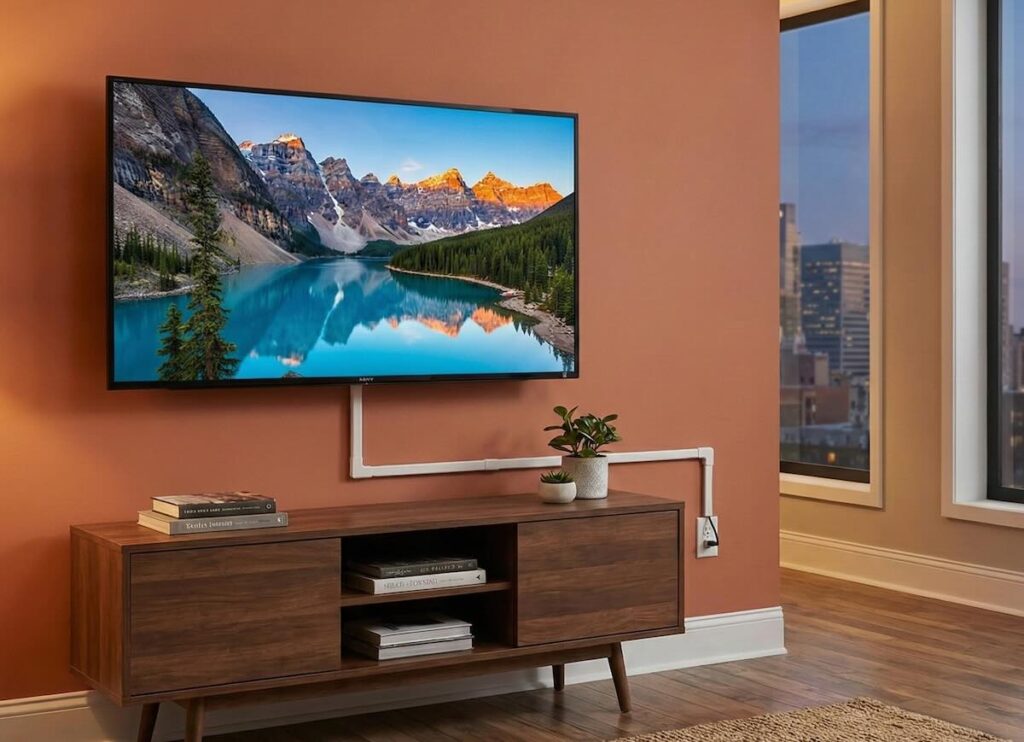
A cable raceway is a protective covering that conceals wires and cables, often made from plastic or metal. It keeps the cables secure and hidden, offering a clean and organized look for your TV setup. This method is one of the easiest and most affordable solutions for hiding wires, especially if you’re not looking to make permanent changes to your wall.
Steps:
- Order a Raceway: Start by purchasing a cable raceway that suits your needs. It’s crucial to choose one that is the right size to accommodate your cables. Many raceways are available in various lengths, widths, and finishes, so pick one that blends seamlessly with your wall color and matches your décor.
- Open the Raceway Package: Carefully open the raceway package and ensure you have all the necessary pieces: the base that sticks to the wall, the cover that conceals the cables, and any additional mounting hardware (if required).
- Place Cables Inside the Raceway: Before sticking it to the wall, place your cables into the raceway. Arrange them neatly to avoid tangling, and ensure the cables are positioned in a way that doesn’t put strain on any of the connectors.
- Stick the Raceway to the Wall: Peel off the backing from the double-sided tape on the raceway and carefully press it against the wall. Make sure it’s aligned and positioned in a way that looks neat. It’s best to press firmly along the entire length of the raceway to ensure it sticks well.
Tips:
- Choose the Right Color: Make sure the color of the raceway matches the wall or blends in well with your décor. White is the most common color, but raceways are also available in beige, brown, or black, depending on your wall color.
- Right Size for the Job: Select a raceway that’s the right size to hide your cables without making the raceway too bulky or awkward. It should fit all your cables snugly but not be so tight that it’s hard to close the raceway.
- Don’t Damage the Wall: Be cautious when using adhesive-backed raceways on walls, especially if you have wallpaper or delicate paint finishes. Some adhesive strips can leave residue or cause damage when removed. Test the adhesive on a small, inconspicuous area of the wall first to ensure it won’t cause harm.
This method is the perfect first step in your journey to hide those unsightly wires. It’s easy, inexpensive, and doesn’t require you to make permanent changes to your wall. If you want a more polished look, you can explore more advanced methods in the next stages!
Stage 2: Using a Wire Concealment Kit
What is a Wire Concealment Kit?
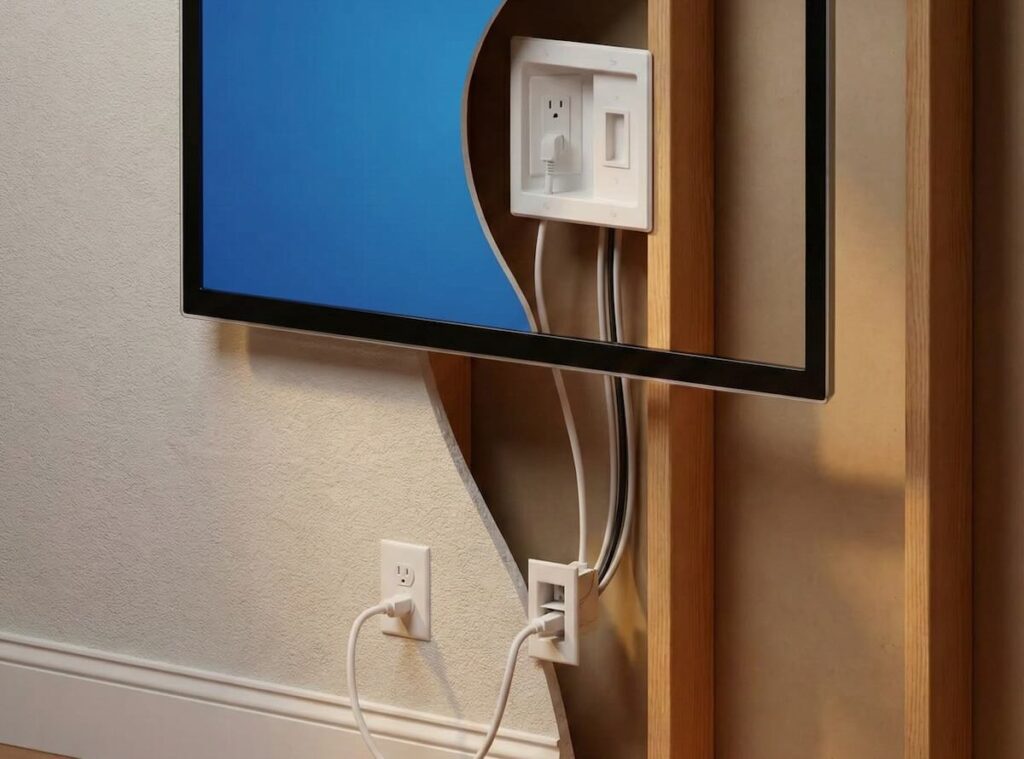
A wire concealment kit is a more advanced solution for hiding TV wires, especially if you’re aiming for a more permanent and professional look. It includes everything you need to install a power and HDMI cable system that runs behind the wall, hiding them completely. The kit usually contains two outlets: one goes behind the TV, and the other goes to the bottom of the wall, typically near the floor or a nearby power outlet. This method involves running cables inside the wall and offers a cleaner look with minimal visibility of any wires.
Installation for Drywall
Step 1: Inspecting the Wall
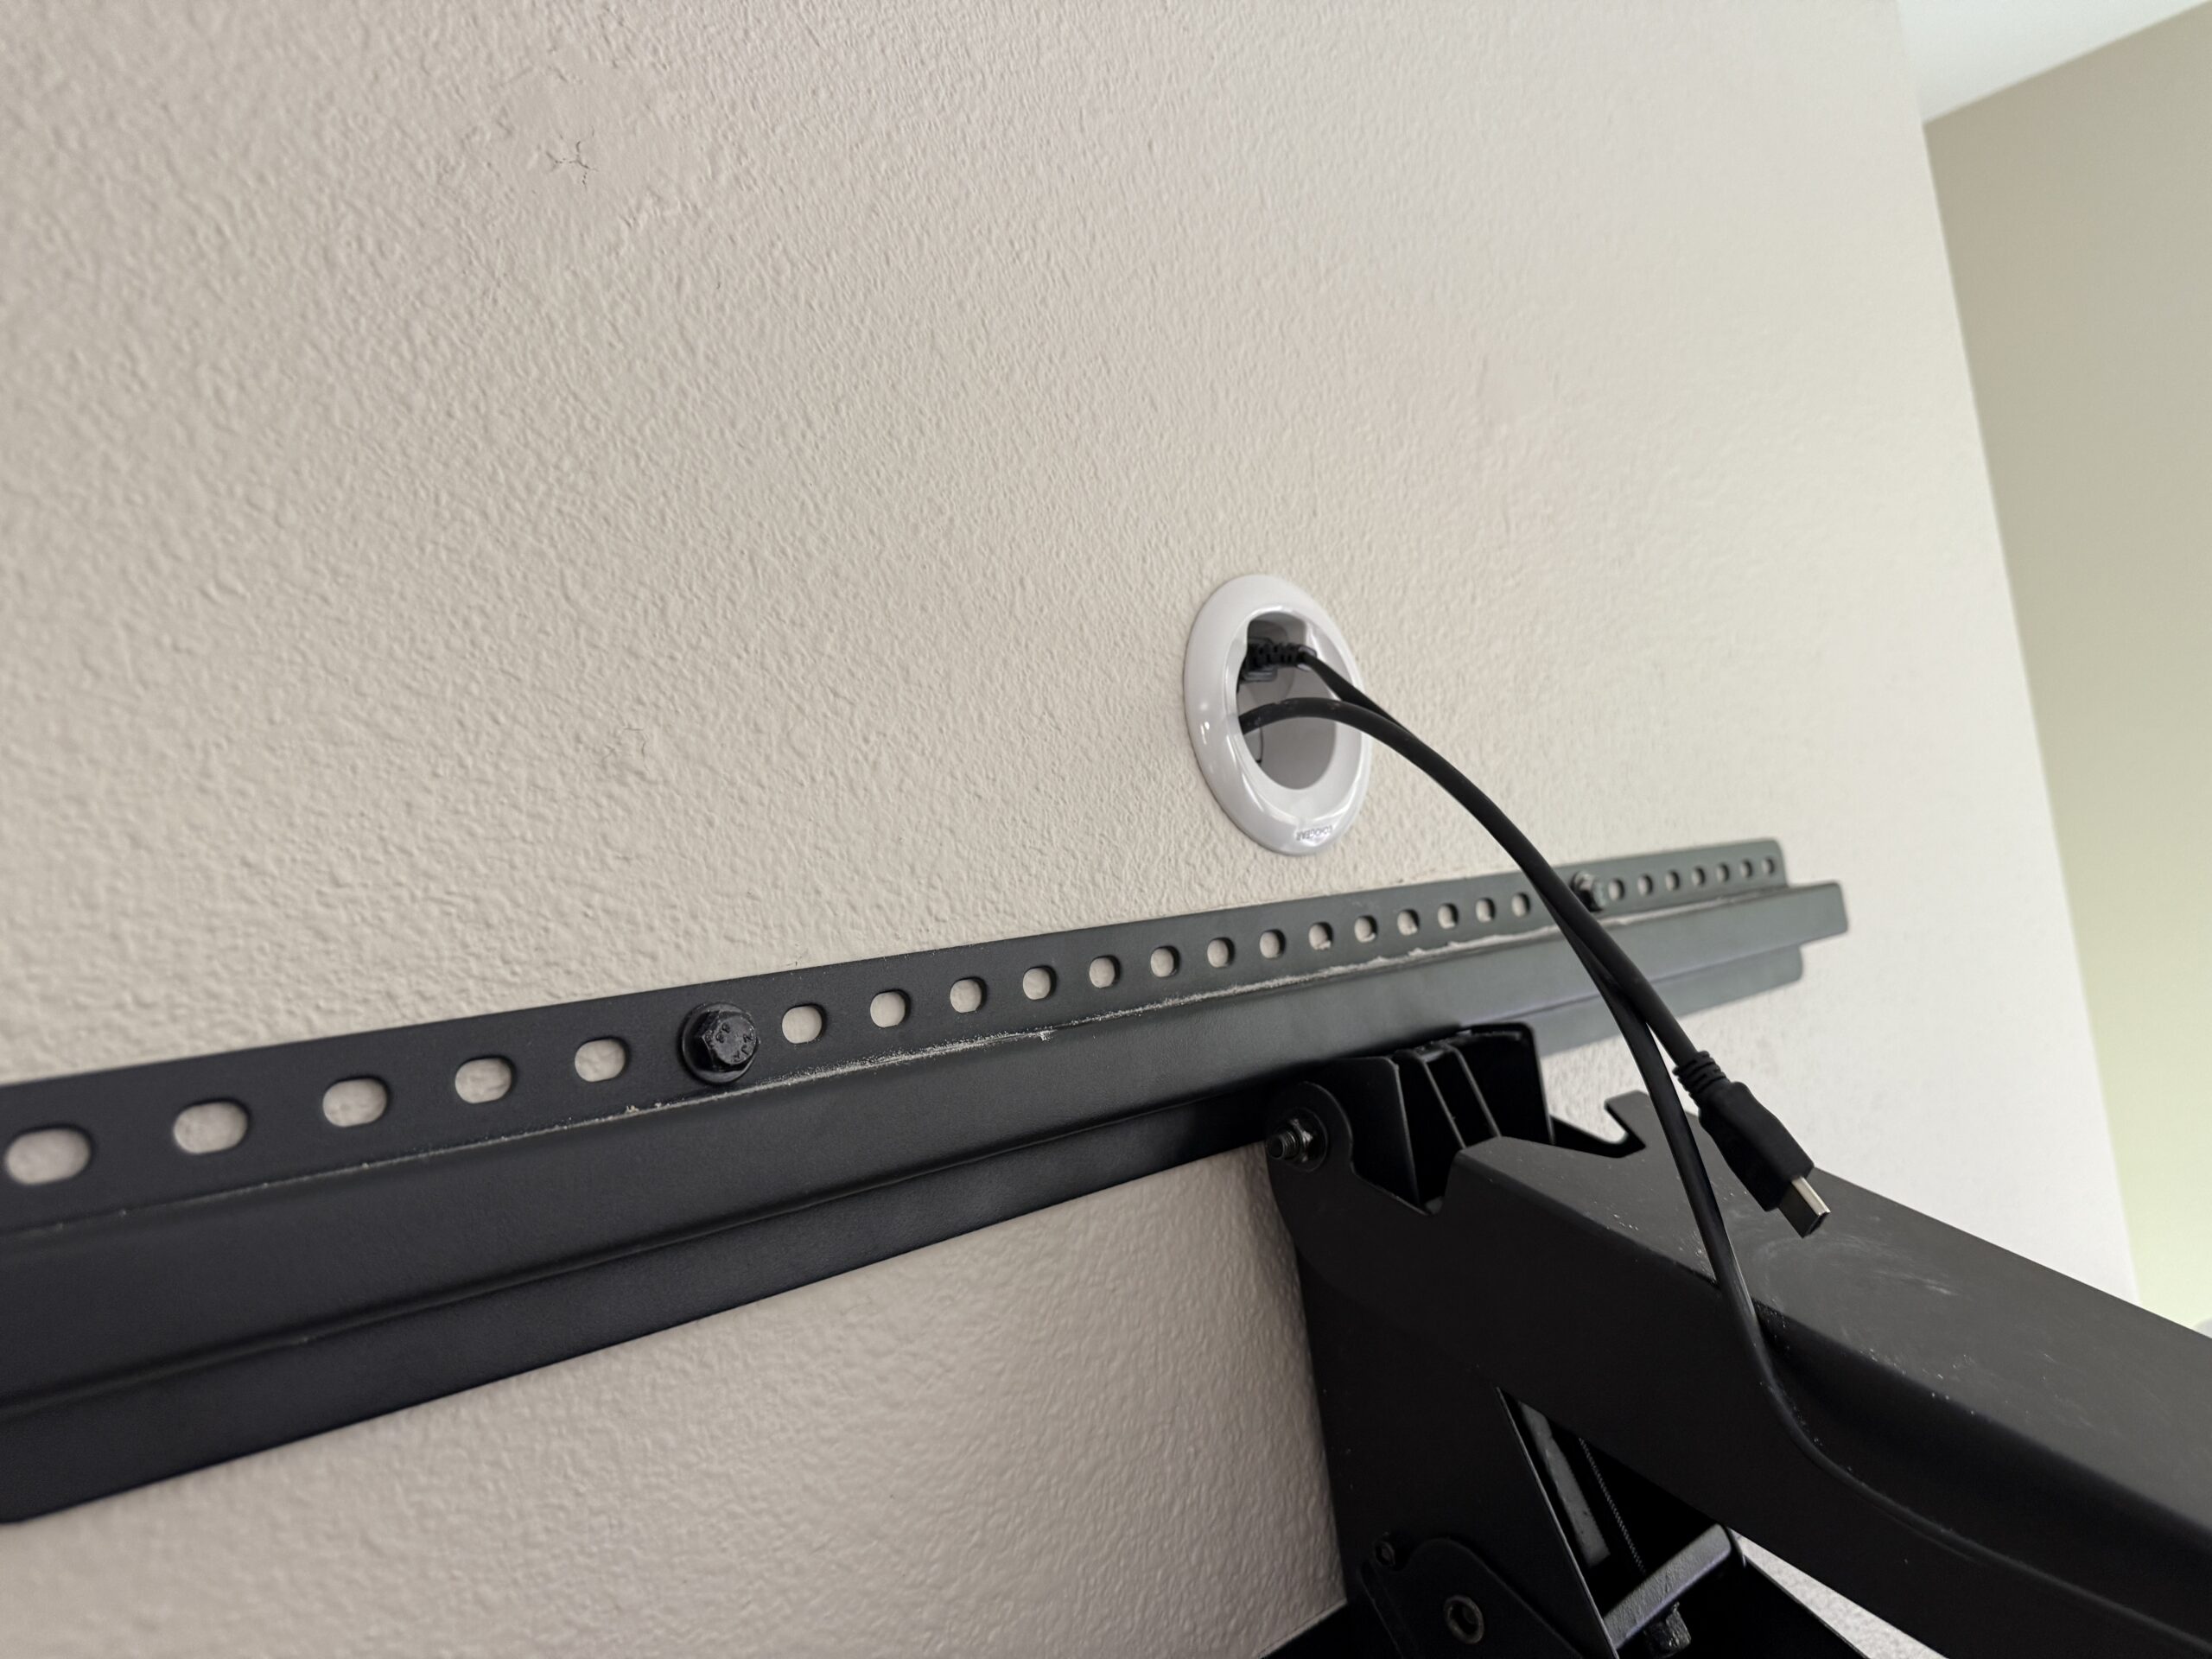
The first step when using a wire concealment kit is to inspect the wall to make sure that no beams, studs, or other obstructions will interfere with the cable routing. Use a stud finder to identify any studs in the wall, as these should be avoided when drilling holes for the outlets.
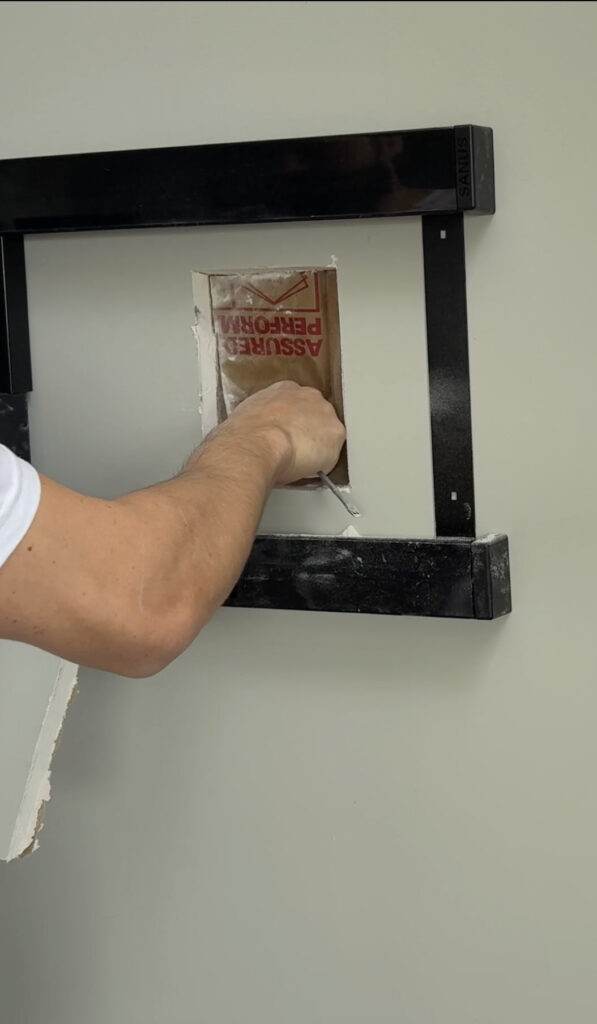
Step 2: Mark the Template and Cut the Holes

Once you’ve ensured that the area is clear of obstructions, mark the spots where the two outlets will be placed—one behind the TV and the other at the bottom of the wall. Most wire concealment kits come with a template to make the hole placement precise. Use a drywall saw or utility knife to carefully cut the holes in the wall where the outlets will go.
Step 3: Place Cables Inside the Wall
With the holes cut, it’s time to run the cables inside the wall. You can use special fishing tools to help feed the cables through the wall. These tools are sometimes included with the wire concealment kit, but if not, you can easily purchase them separately. Insert the cables for power and HDMI into the wall, ensuring they run smoothly between the top and bottom outlets.
Step 4: Connect the Cables
Once the cables are in place, connect the power and HDMI cables through the top outlet, behind the TV. For the bottom outlet, connect an extension power cord that leads to the nearest power outlet in your room. This setup hides all wires behind the wall and provides a clean and organized look.
Installation for Concrete Walls
If you’re working with a concrete wall, the installation process becomes more involved. You will need to “chase” the wall to create a channel for the wires, which involves cutting into the concrete. This process can be quite difficult and may require special tools like a wall chaser or angle grinder.
After creating the channel, you’ll need to patch the wall and apply a finishing coat of plaster to cover the channel. This is an option for more experienced DIYers, but it’s not always appropriate, especially if you don’t have the right tools or experience to do it properly.
Important Tips
- Consider Location: When installing the bottom outlet, place it closer to an existing power outlet for convenience. This minimizes the amount of cable you need to run and makes the setup easier.
- Don’t Place the TV Power Cable Inside the Wall: It’s important to note that TV power cables are not allowed inside walls in most regions due to safety codes. The wire concealment kit will include special cables that are rated for in-wall use, but do not attempt to place your TV’s regular power cable inside the wall.
- Use the Right Kit: Make sure the wire concealment kit you purchase is specifically designed for in-wall use. These kits will contain all the necessary components to safely and securely hide the cables inside the wall.
Using a wire concealment kit is an excellent way to create a neat and modern look for your TV setup. It’s more involved than a simple raceway, but it offers a cleaner, more permanent solution. If you’re comfortable with the additional work required, this method is highly effective and provides a professional result.
Stage 3: Installing a Professional Outlet Behind the TV
What is Involved in Installing an Outlet Behind the TV?
For the most permanent and professional solution, installing an outlet behind the TV is the best option. This method allows you to wirelessly connect your TV to power and HDMI sources directly from the electrical system in your home. It eliminates the need for visible cords, providing a clean and tidy setup. This type of installation should be done by a licensed electrician to ensure it meets safety standards.
Steps to Install the Outlet
Installing an outlet behind the TV involves the following steps:
- Electrical Inspection: A licensed electrician will inspect your wall and wiring system to determine the most suitable place for installing the outlet. The location must be near the TV, typically on the wall behind it.
- Wiring: The electrician will connect the new outlet to your home’s electrical wiring. This usually involves running new wiring from the existing circuit to the location behind the TV. Proper insulation and safety measures are crucial during this step.
- Outlet Installation: After wiring, the electrician will install the new outlet behind the TV. This outlet will supply power to the TV and other connected devices. It may include HDMI connections as well, which are commonly installed alongside the power outlet to eliminate the need for visible cables.
Additional Outlet Below the TV
A second outlet is usually installed below the TV, near the TV stand or entertainment center. This outlet will provide power for connected devices such as gaming consoles, soundbars, or media players. HDMI outlets can also be placed here to connect the TV to these devices without needing visible cables running along the floor.
Pros and Cons of Installing an Outlet Behind the TV
Pros:
- Professional Appearance: This method is clean, organized, and offers a seamless look with no visible cables.
- Safety: Wiring behind the wall is less prone to damage and wear than exposed cables.
- Enhanced Functionality: The outlet behind the TV allows for a direct connection to power and HDMI devices, reducing the need for extra wires or adapters.
Cons:
- Cost: Installing outlets requires professional help, which can be expensive due to the labor involved in electrical work.
- Complexity: The installation process is more involved and requires expertise to ensure everything is done safely and properly.
Conclusion: The Best Method for Your Situation
If you’re looking for a quick and affordable solution, using special kits or a simple raceway system is the easiest method to hide your TV wires. These options can be installed with minimal effort and cost.
For drywall installations, wire concealment kits are a great choice, providing a permanent and clean solution. For cement walls, using a plastic raceway is recommended as it’s easy to install and doesn’t require cutting into the wall. However, if you’re already in the process of remodeling, and the wall is still unfinished, this is the ideal time to install an outlet behind the TV, as the wall’s finishing can be easily adjusted around the new wiring.
In summary, for the easiest and quickest installation, special kits and raceways are the way to go. If you want a cleaner, more permanent solution and are working with drywall, use a concealment kit. For cement walls, plastic raceways provide a great balance between ease of installation and durability.