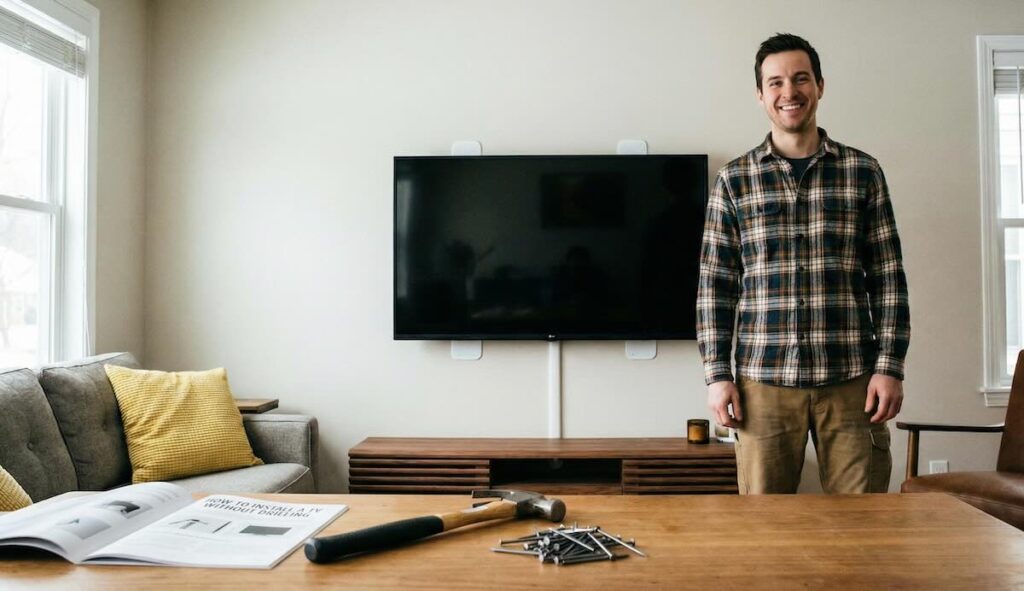
You can achieve a sleek, modern entertainment setup without extensive wall damage or heavy-duty drilling. Modern solutions—such as the Echogear No-Stud Wall Mount from Amazon—enable you to securely mount your TV with only minimal nail holes.
Alternatively, free-standing mounting systems offer flexibility without any wall attachment at all. In this comprehensive guide, you’ll learn how to install your TV using these two popular approaches, including detailed, step-by-step instructions, clear lists of tools and materials, and an honest discussion of the benefits and drawbacks. Whether you’re a renter who wants to keep walls pristine or a homeowner seeking a quick, budget-friendly solution, this article provides everything you need for a safe, stylish setup.
Table of Contents
- Introduction
- Why Choose These Mounting Systems?
- Overview of Installation Options
- Nail-Based Mounting Systems
- Free-Standing Mounting Systems
- Step-by-Step Guide for Nail-Based Mounts
- Step-by-Step Guide for Free-Standing Mounts
- Pros and Cons
- Tips for a Secure and Successful Installation
- Conclusion
Introduction
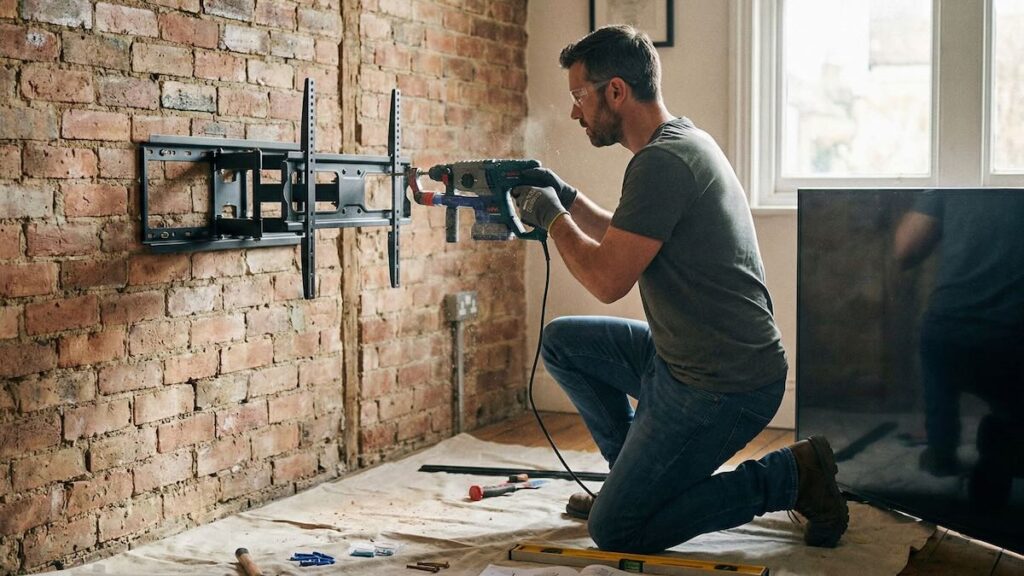
Mounting your TV without extensive drilling is possible and practical. Many people seek alternatives that avoid the complications of power tools, preserve the original wall condition, and require little effort. Using modern mounting systems that rely on minimal nail holes—such as the highly popular Echogear No-Stud Wall Mount—and free-standing units can be exactly what you need. In this guide, you’ll find detailed instructions, tool lists, and clear explanations that empower you to set up your entertainment center quickly and efficiently. Enjoy a hassle-free installation that protects your walls and saves time without sacrificing stability or style.
Why Choose These Mounting Systems?
These mounting systems answer the needs of homeowners and renters alike. Here’s why you might choose nail-based or free-standing solutions:
- Minimal Wall Damage: Instead of drilling large holes, you create only very small nail holes that leave little to no trace. These minimal marks are easy to patch up later, preserving your walls’ aesthetic appeal.
- Quick & Budget-Friendly: The installation process remains simple and fast. You can quickly mount your TV using only a few small nails or a sturdy free-standing unit, reducing both time and cost compared to traditional drilling methods.
- Easy Removal and Flexibility: If you decide to move or change your setup, you can easily remove the mount and cover up the minor holes with patching material. Free-standing systems provide the added benefit of mobility, allowing you to reposition your TV without any commitment to a wall location.
- Ideal for Lightweight to Medium TVs: These systems efficiently secure TVs that meet certain weight and size specifications. They work perfectly for most standard models but may not be suitable for the heaviest TVs.
- Simple and Clean Installation: Whether you opt for a nail-based mount or a free-standing system, you enjoy a cleaner look without visible bulky hardware. Many modern designs also include cable management features to maintain an uncluttered appearance.
Keep in mind that these systems come with some limitations: they do not support very heavy TVs or full-motion (full-motion bracket) adjustments. Therefore, assess your TV’s weight and your viewing needs before proceeding.
Overview of Installation Options
In this guide, we focus on two primary installation methods:
Nail-Based Mounting Systems
Systems like the Echogear No-Stud Wall Mount attach to your wall with minimal nail holes. These mounts use only a few tiny nails or screws rather than large drilled holes, making the process both efficient and minimally invasive. They provide a robust mounting solution for TVs within a specified weight limit.
- Minimal Damage: Only small nail holes are created, which are barely noticeable and easy to repair.
- Quick Installation: The process saves time by using a few simple fasteners rather than traditional drilling techniques.
- Budget-Friendly: Reduced tool requirements and fewer materials result in lower installation costs.
- Limited Adjustment: These mounts typically have fixed or limited tilt options, so they do not support full-motion or highly adjustable brackets.
Free-Standing Mounting Systems
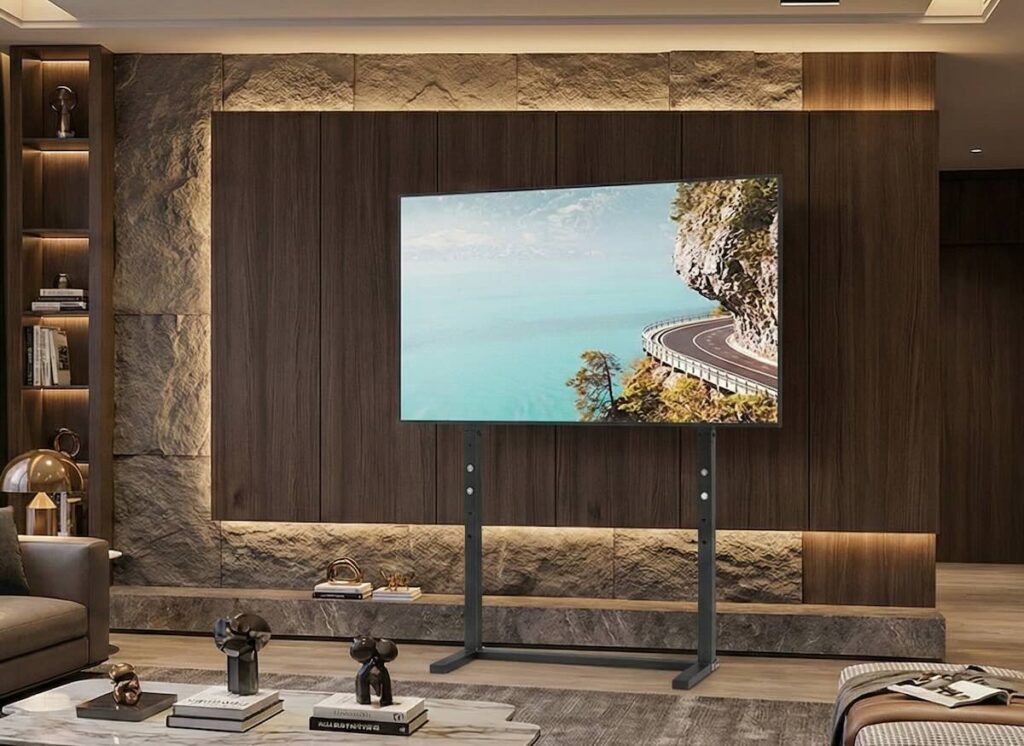
Free-standing systems offer a completely alternative approach by eliminating wall attachments. These robust stands or bases secure your TV on a solid platform, ideal for those who want zero wall damage.
- No Wall Attachment: This system avoids any wall modification, making it especially attractive for renters.
- Portability: You can reposition the TV and stand anywhere in the room, offering flexibility in layout design.
- Integrated Design: Many free-standing units incorporate cable management and modern aesthetics that blend seamlessly with your interior décor.
- Space Requirement: These systems take up floor space, so they are best suited for rooms with sufficient clearance.
Both methods offer practical advantages—but note their limitations regarding heavy TVs and extensive motion. Choose based on your TV’s specifications and your space’s layout.
Step-by-Step Guide for Nail-Based Mounts
1. Gather Your Materials and Tools
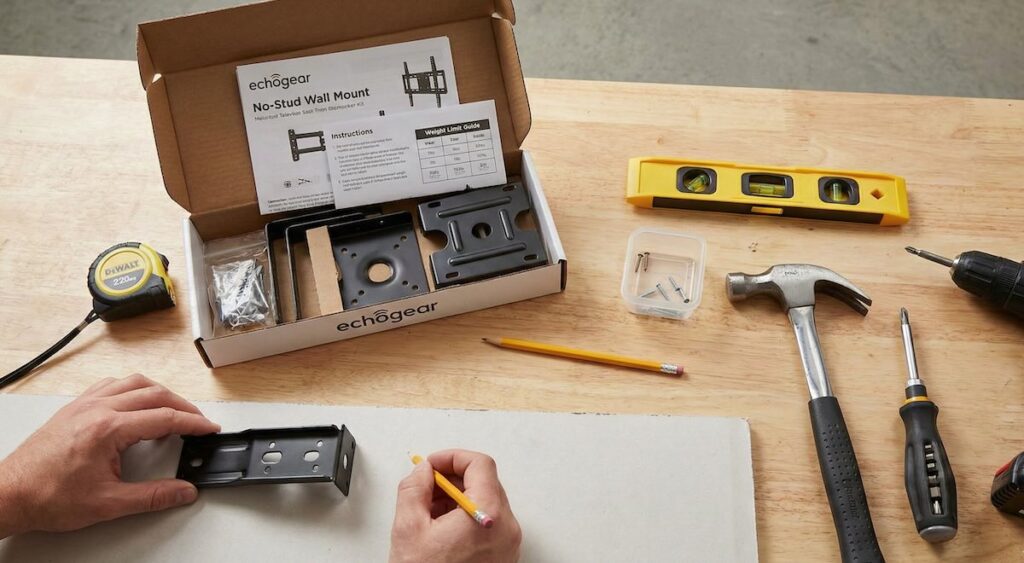
- Mounting Kit: Use a system like the Echogear No-Stud Wall Mount. Check that it meets your TV’s weight and size requirements.
- Measuring Tools: A tape measure, level, and pencil for marking the installation points.
- Fasteners: A few small nails or minimal screws (as provided in the kit) that create only tiny holes.
- Basic Hand Tools: A hammer and a screwdriver may be needed depending on your specific kit.
- Helper: It’s advisable to have another person assist with lifting and holding the TV during installation.
2. Prepare the Wall
- Inspect and Clean: Ensure the wall surface is clean, dry, and free from dust. This condition ensures a proper fit and secure attachment.
- Mark the Installation Points: Use a tape measure and level to determine the optimal height and location for your TV. Lightly mark the spots where the nails will go. Accurate marking is vital to guarantee that your TV hangs evenly.
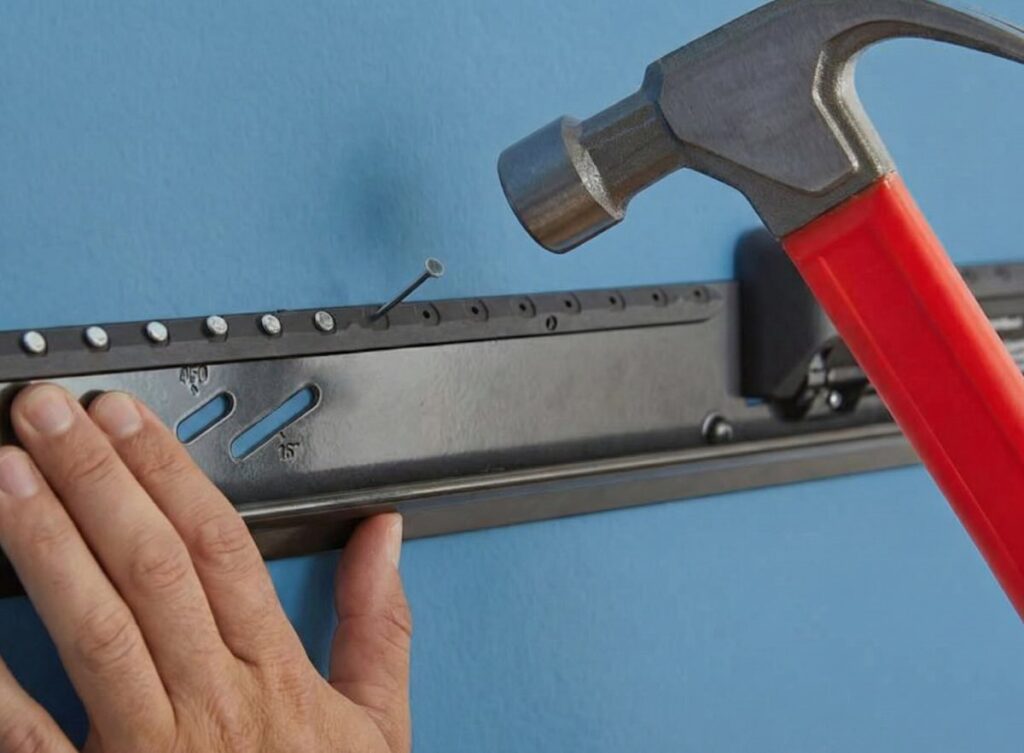
3. Install the Mounting Bracket
- Align the Bracket: Hold the mounting bracket against the marked spots on the wall.
- Secure with Nails: Gently drive the small nails or fasteners into the wall at the pre-marked positions. Ensure each nail is placed precisely to create minimal holes that later require very little repair.
- Double-Check the Level: Use a level to verify that the bracket is perfectly horizontal. Adjust as necessary before fully securing the mount.
4. Mounting the TV
- Attach the TV Plate: Affix the mounting plate to the back of your TV according to the manufacturer’s instructions.
- Lift and Lock: With the help of your partner, carefully lift the TV and hook it onto the wall-mounted bracket. Confirm that each clip and catch properly engages.
- Perform a Stability Check: Gently test the mount by nudging the TV to verify it sits securely on the bracket. Stability is essential before you complete the installation.
5. Final Adjustments and Clean-Up
- Check Alignment: Confirm that your TV hangs straight and the installation looks clean. Use a level one more time if needed.
- Organize Cables: Utilize any built-in cable management systems in the mount or add your own solutions to ensure wires remain organized and hidden from view.
Step-by-Step Guide for Free-Standing Mounts
1. Choose the Right Free-Standing Stand
- Model Selection: Pick a stand that matches your TV’s size and weight. Consider modern designs that come with built-in cable management and sleek styling.
- Check Weight Capacity: Ensure that the stand’s load capacity meets or exceeds the weight of your TV.
2. Assemble the Stand
- Follow Manufacturer Instructions: Assemble the free-standing unit according to its manual. Typically, you will build a base, attach a central column, and secure a mounting surface.
- Secure All Connections: Tighten screws and fasteners to guarantee that the stand feels rigid and stable on a level floor.
3. Mount the TV on the Stand
- Attach the Mounting Plate: Secure the TV’s mounting plate onto its back. This step is similar to the installation for wall-mounted setups.
- Place the TV: With assistance, lift the TV onto the stand’s mounting bracket. Ensure that the TV aligns correctly with the stand’s mounting surface.
- Lock Everything in Place: Use any provided locking mechanisms to secure the TV. Confirm that the TV is firmly seated on the stand before moving on.
4. Manage Cables and Final Checks
- Cable Management: Arrange cables neatly using integrated clips or additional cable ties to maintain a tidy appearance.
- Test Stability: Slightly move the stand or nudge the TV to ensure that the setup remains secure and balanced on the floor.
- Reposition if Needed: Free-standing systems allow repositioning. Adjust the stand’s location to achieve the best viewing angle and interior layout.
Pros and Cons
Nail-Based Mounting Systems (e.g., Echogear No-Stud Wall Mount)
- Advantages:
- Quick and Easy Installation: You can mount your TV swiftly by using only a few small nails without the need for a drill.
- Minimal Wall Damage: The small nail holes are barely noticeable and can be patched effortlessly.
- Cost-Effective: The method uses minimal fasteners and does not require complex tools or professional assistance.
- Ideal for Standard TVs: Works perfectly with lightweight to medium TVs where heavy-duty movement isn’t necessary.
- Drawbacks:
- Limited Weight Capacity: This system supports only TVs that do not exceed a certain weight. Heavy TVs are not recommended.
- Restricted Movement: Full-motion or highly adjustable brackets are typically not available. The TV’s tilt and swivel options remain limited.
- Static Installation: The TV remains in a fixed position, which might not suit environments that require frequent reorientation.
Free-Standing Mounting Systems
- Advantages:
- No Wall Damage: With no nails or screws in the wall, your space remains completely unaltered.
- Flexibility: Easily move and reposition the TV whenever you need to reconfigure your room.
- Simple Setup: Free-standing systems require no permanent attachments and offer a straightforward assembly process.
- Modern Aesthetics: Many free-standing stands incorporate sleek designs and integrated cable management that elevate the overall look.
- Drawbacks:
- Takes Up Floor Space: You must have sufficient space available, as free-standing mounts occupy a portion of the room’s floor.
- Limited for Heavier TVs: Similar to nail-based mounts, these stands work best with TVs of standard weight and may not support larger, heavy models.
- Restricted Adjustment Options: Most free-standing units provide only a basic tilt function and do not offer full-motion capabilities.
Tips for a Secure and Successful Installation
- Verify TV Specifications: Double-check your TV’s weight and dimensions to ensure they match the mounting system’s limits.
- Use a Level and Measure Accurately: Clear markings and precise measurements guarantee a straight and secure installation.
- Enlist Help: Always have a second person help lift and position your TV. A second pair of hands reduces risks and eases the process.
- Check Stability Frequently: After installation, gently test your TV’s stability. Periodically inspect the mount or stand to ensure no loosening occurs.
- Plan for Cable Management: Neat cables improve the overall look. Use built-in cable channels or accessories to hide wiring from view.
- Patch Small Holes Promptly: If you remove a nail-based mount, patch the few small holes immediately to maintain a pristine wall surface.
- Follow Manufacturer Instructions: Adhere strictly to the detailed instructions provided with your mounting kit or stand for both installation and safety.
Conclusion
Modern mounting solutions like the Echogear No-Stud Wall Mount allow you to install your TV quickly, economically, and with minimal impact on your walls. By using a nail-based system that creates only tiny, easily repairable holes or choosing a free-standing system to avoid wall attachment completely, you can achieve a stylish and efficient home entertainment center.
While these solutions offer fast installation and a clean look, they come with certain limitations. They suit lightweight to medium TVs only and do not support full-motion adjustments. Yet for many standard models and everyday setups, the benefits—saving time, money, and reducing wall damage—outweigh these drawbacks.
Happy mounting, and may your TV experience be both seamless and visually stunning!