Mounting a TV on tile, marble, or natural stone looks amazing — but it can be risky if you don’t know how to drill properly. One wrong move can crack a tile, ruin the surface, or even cause the whole project to fail. In this guide, we’ll walk you through the safest way to mount a TV on tiled or stone-covered walls — without damage.
- Tools and Materials You’ll Need
- Step-by-Step Installation Guide
- Tips for Drilling Into Porcelain, Marble, and Stone
- How to Protect the Tile Surface
- When You Should Let a Pro Handle It
- Common Mistakes to Avoid
- Conclusion
Tools and Materials You’ll Need
Here’s what you need to mount a TV safely on tile or stone. Using the correct tools is crucial to avoid cracking or damaging the wall.
Essential Tools:
- 🛠️ Drill with variable speed and depth stop
- 💎 Diamond-tipped tile drill bits (don’t use masonry bits for tile)
- 🧱 Masonry anchors or toggle bolts (depending on wall type behind tile)
- 📏 Level and measuring tape
- 📌 Masking or painter’s tape
- 🧤 Safety goggles and gloves
- 🪛 Screwdriver or socket wrench
Optional (but recommended):
- Spray bottle with water (for cooling the bit while drilling)
- Cushioning mat or towel to protect tile while working
- Vacuum or handheld brush to remove dust
Once you’ve got everything ready, you’ll be able to mount the TV without fear of cracks — if you follow the right steps.
Step-by-Step Installation Guide
Follow these five steps carefully to mount a TV on tile or stone safely and securely:
Step 1: Choose the Right Mount
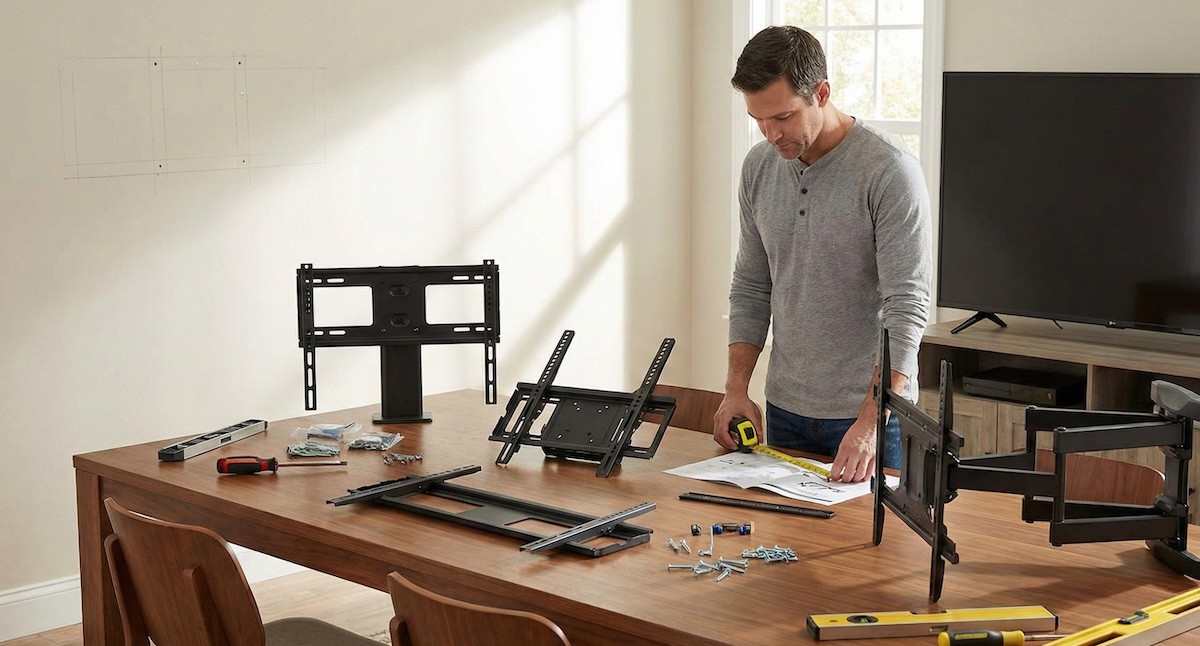
Select a wall mount that fits your TV’s size and weight, and consider whether you need a tilt or swivel function. Most installations on tile are over kitchen counters, fireplaces, or backsplashes — so low-profile or tilt mounts are usually best.
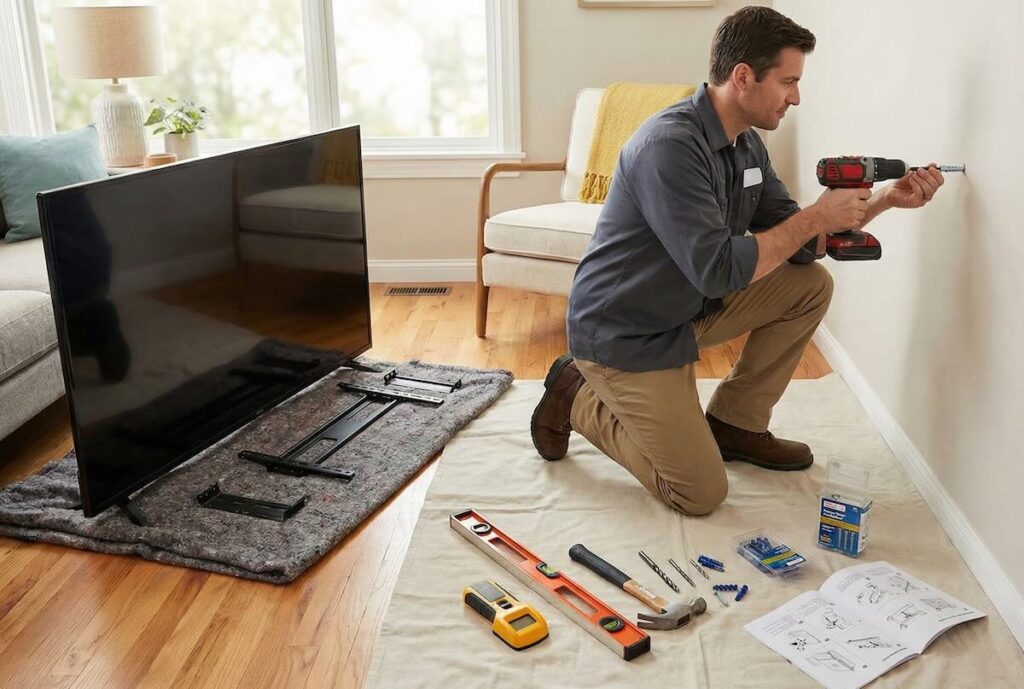
Step 2: Mark the Drill Points with Tape

- Use painter’s tape to cover the area where you’ll drill. This keeps the drill bit from slipping and helps protect the tile.
- Mark the hole locations on the tape using a pencil and level.
- Double-check spacing and alignment before you start drilling — tile is unforgiving!
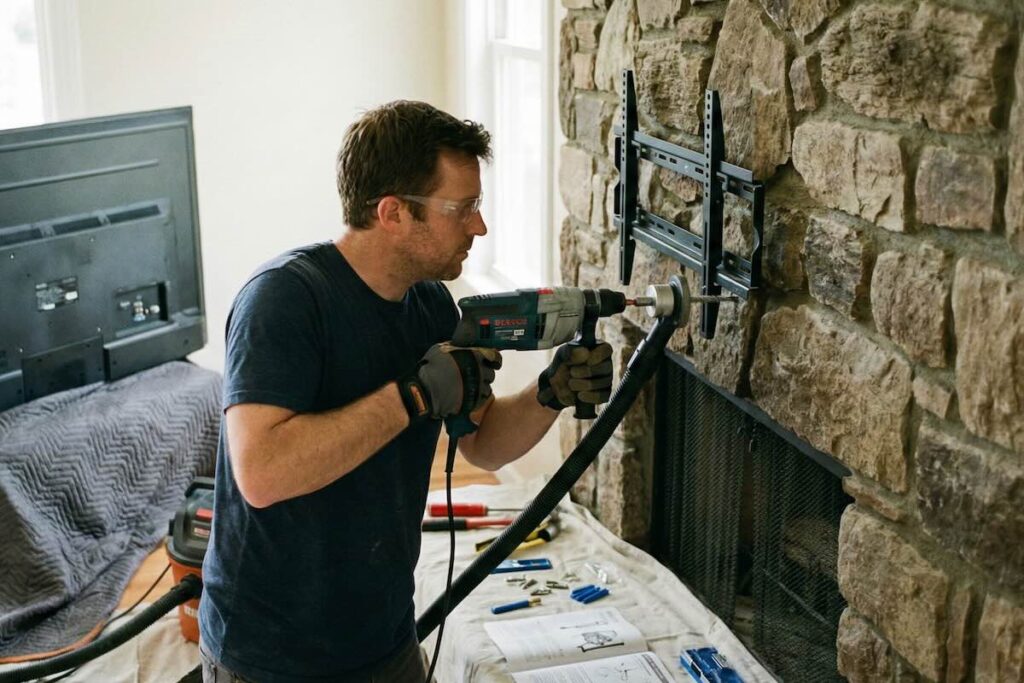
Step 3: Drill Slowly and Without Hammer Mode

- Use a diamond-tipped tile bit — not a masonry bit — and keep the drill on low speed with no hammer function.
- Start with very light pressure until the bit bites into the tile surface.
- Spray water on the bit regularly to reduce heat and prevent cracks (or dip the bit in water every few seconds).
- Once through the tile, switch to a masonry bit if needed to go into the wall behind (e.g., drywall, cement board, or brick).
Step 4: Insert Anchors and Mount the Bracket

- Use plastic wall anchors for drywall behind tile, or toggle bolts for hollow spaces. If the wall is concrete or brick behind tile, use sleeve anchors or Tapcon screws.
- Insert the anchors carefully through the drilled tile holes — avoid over-tightening to protect the tile face.
- Attach the mount bracket to the wall and confirm it is level before tightening all screws.
Step 5: Hang the TV

- Mount the brackets onto the TV and lift it carefully into place.
- Secure the TV according to the mount’s instructions and double-check all connections.
Done correctly, your TV will be secure, straight, and crack-free. Now it’s time to enjoy your clean, professional result.
Tips for Drilling Into Porcelain, Marble, and Stone
Not all tile and stone are the same. Porcelain is harder than ceramic. Marble chips easily. Natural stone can be unpredictable. Here’s how to handle each safely:
✅ Porcelain Tile
- Porcelain is extremely dense — use high-quality diamond bits only.
- Apply steady, light pressure. Forcing it will overheat the bit or crack the tile.
- Lubricate with water every 10–15 seconds during drilling.
✅ Marble or Travertine
- Very fragile — never drill without painter’s tape over the surface.
- Drill slowly and stop often to cool the bit and inspect the hole.
- Use a cushion underneath (like a towel or foam pad) to absorb vibration if drilling over countertops.
✅ Slate or Natural Stone
- Uneven surfaces may require shimming behind the mount for stability.
- Stone may flake — keep the drill bit straight and centered at all times.
- If it’s a decorative or soft stone, consider mounting through grout lines instead (only if deep enough).
🧠 General rule: Let the bit do the work. Patience is your best tool when working with premium materials.
How to Protect the Tile Surface During Installation
Even if you’re using the right drill bit, it’s easy to damage tile during installation. Here’s how to minimize the risk:
1. Use Painter’s Tape on Every Drill Hole
Apply a square of painter’s tape over each hole before marking and drilling. It prevents the bit from slipping and reduces surface chipping.
2. Start with a Small Pilot Hole
If you’re nervous, begin with a small diamond-tipped bit (1/8”) to create a pilot hole, then switch to the full-size bit. This gives you more control.
3. Don’t Apply Pressure — Let the Bit Work
Too much pressure will crack tile, especially at the edges. Hold the drill steady and apply only light force.
4. Avoid Hammer Mode Entirely
Never use hammer function when drilling tile — it’s designed for concrete, not fragile surfaces. Turn it off completely until you pass through the tile layer.
5. Keep the Area Clean and Cool
Use a spray bottle or damp sponge to cool the surface and the bit. Clean dust often to avoid buildup that can scratch the tile face.
When You Should Let a Pro Handle It
Tile and stone installations leave little room for error. Here’s when it’s smarter to call a professional installer:
- You’re working with expensive tile like marble, granite, or custom ceramic
- You’ve never drilled tile before and don’t want to risk a crack
- You need to mount over a kitchen backsplash or near plumbing/electrical lines
- Your TV is very large and needs perfect centering or special anchors
- You don’t have the right tools (especially a variable speed drill and diamond bits)
Professional installers work with fragile surfaces daily and know how to prevent damage. The cost of hiring one is usually less than replacing a cracked tile or doing the job twice.
Common Mistakes to Avoid
Here are the most common (and costly) mistakes when mounting a TV on tile or stone:
- Using the wrong drill bit: Masonry bits can shatter tile. Use only diamond-tipped bits for tile.
- Turning on hammer mode: Never use it until you’re past the tile surface.
- Applying too much pressure: Let the drill do the work — pressure leads to cracks.
- Drilling too close to tile edges: Stay at least 1 inch (2.5 cm) away from edges to prevent chipping.
- Skipping painter’s tape: It may seem small, but that tape helps prevent slips and scratches.
Conclusion
Mounting a TV on tile or stone walls requires patience, precision, and the right tools — but the results are worth it. Whether you’re mounting in a kitchen, bathroom, fireplace area, or on a feature wall, taking the time to drill safely will save you a cracked tile and a lot of frustration.
Remember: use diamond bits, go slow, and always test your markings twice before drilling. And if the tile is expensive or the install feels stressful — don’t risk it. Let a pro handle the hard part so you can enjoy a clean, stylish result with peace of mind.